Host a Static Web Site with Azure and https - Express Guide
Create a static web site
1. Login to Azure portal (If you donat have you can signup for free)
2. Go to storage accounts and cerate a new storage account with your desiered name.
2.1. Make sure to select 'Storage V2' in Account Kind.
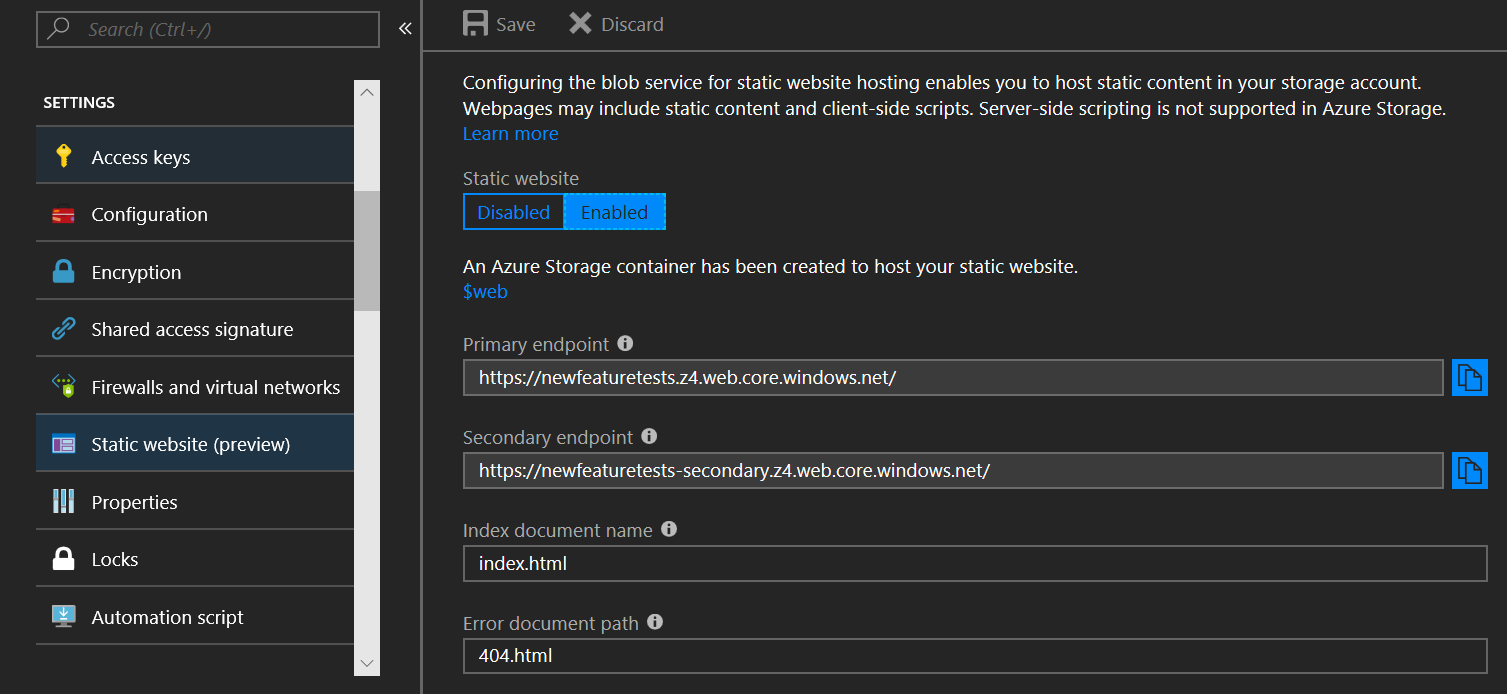
3. Go to Static Website under newly created Storage Account.
3.1. Enable it and give index page (index.html) and error page (404.html).
3.2. Save.
3.3. Copy the Primary endpoint to later use.
4. Go to Containers under newly created Storage Account
4.1. Inside that you can see $web container - which holds your websites' files (html, javascript, css)
4.2. Upload a file(s) - I uploaded as index.html which I have set as my index page, so when I use my url; the content of this page will be shown.
NOTE: You can download and use Microsoft Azure Storage Explorer to update the files in $web.
5. Open a new tab in your browser and paste the copied Primary endpoint and hit enter.
5.1. The content from your index.html will show.
Add Custom domain with https
1. Purchase a domain name from a registar like google, godaddy, etc.
2. Log in to your Azure portal.
3. Go to your Storage Account which you have hoseted your static web site.
4. Search for Azure CDN.
5. Create a new CDN Profile with your desiered name.
5.1. Select create a new CDN endpoint now.
5.2. Select 'Custom Origin' as Origin Type.
5.3. Give the Primary endpoint name without https://
NOTE: It will take some time to get the CDN endpoint to ready.
6. Create a custom domin by clicking on the 'Custom Domain' inside the CDN profile.
7. Go to your domain registar and go to DNS section.
7.1. Add a CNAME.
7.2. Copy the Endpoint hostname from your CDN Profile to CNAME hostname.
8. Go to your Azure CND Profile and add your custom domain name under Custom hostname.
8.1. If it didn't capture that keep deleting and pasting it until you get the green check mark.
8.2. Click on Add.
NOTE: It can take up to 10 minutes for 'www.mysitename.com' settings to reach every CDN POP.
9. Click on your custom domain
9.1 Enable HTTPS by selecting 'On'
9.2 Select CDN Managed. This will go and register a SSL Certificate for your custom domain.
10. Check your site by navigating to the url after some time.
NOTE: Use https://www to navigate to your website.


Comments
Post a Comment